Maintain Wood Cutting Boards: Oil and Dry Right
By Noa Feld • 3rd Oct
Let's be honest, that hollow thwack when your board skids mid-chop? It's not just loud; it yanks your knife off course and makes your grip tense up. Proper wood cutting boards maintenance isn't about keeping things pretty, it's how you keep your hands steady, your edges intact, and your cuts clean. When boards dry out or warp, they fight your knife instead of guiding it. I've seen beginners flinch at every slice until we fixed their board's grip. Comfort builds confidence; confidence keeps edges where they belong.
Why Your Board's Feel Matters More Than You Think
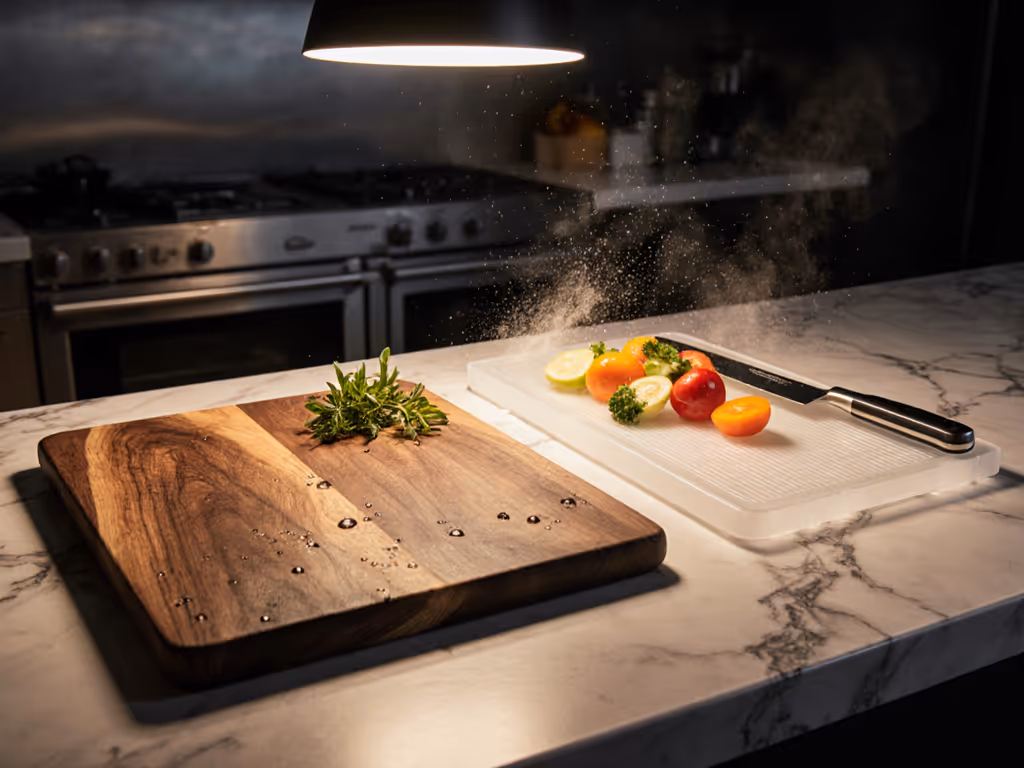
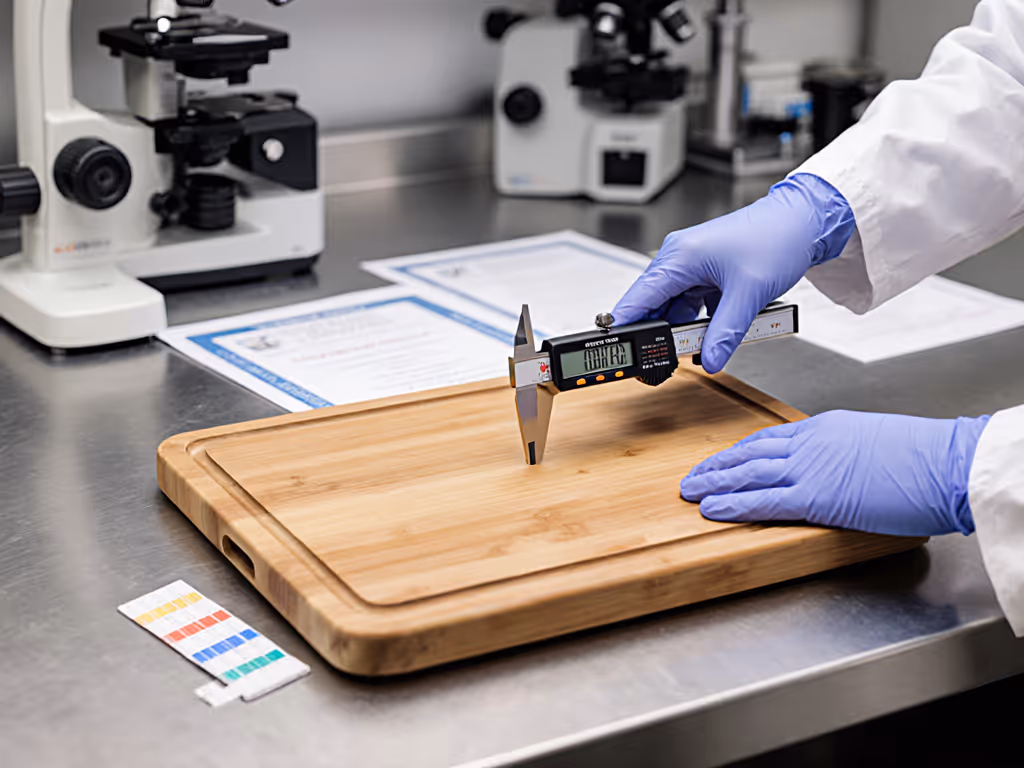
Wood isn't passive, it breathes. When it's thirsty, it cracks and creates micro-gouges that catch your knife's edge. When it's soggy, it swells and warps, turning your stable prep zone into a wobbly hazard. The right moisture balance means your board gives just enough under the blade, no painful jar, no edge-skipping drag. This isn't fussy care; it's safety. Because safety is speed. A board that grips your counter and yields gently to your knife? That's when prep flows.
Daily Clean: Stop the Soak Temptation
Scrape off food bits before water hits the surface. Why? Dried gunk dragged over wood creates micro-scratches that trap bacteria. Now wash:
- Use warm water and a drop of mild soap on a soft sponge or cloth. Scrub with the grain, not across it, to avoid lifting fibers. Feel for any sticky spots; that's residue clinging to dry wood.
- Rinse immediately. Don't let soapy water pool. Lingering suds dry into a film that repels oil later.
- Sanitize quietly: Flood the surface with 1 part vinegar to 4 parts water. Let it sit 1 minute, then rinse. (Bleach isn't needed; it dries wood out and leaves chemical smells that cling to food.)
Never dunk or soak boards. Waterlogging causes swelling, then splitting. It's the #1 reason boards warp.
Drying: The Make-or-Break Step
This is where 90% of warping starts. Your board must dry evenly. Flat on the counter? Moisture gets trapped underneath, making the bottom swell faster than the top. Result? A permanent banana curve.
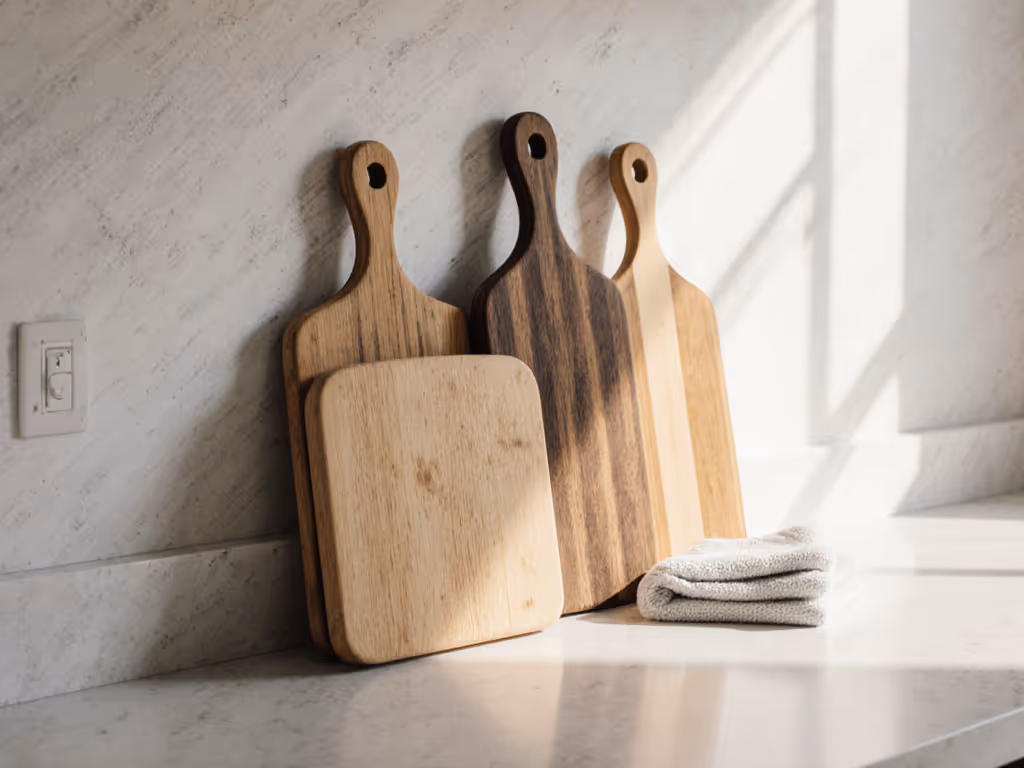
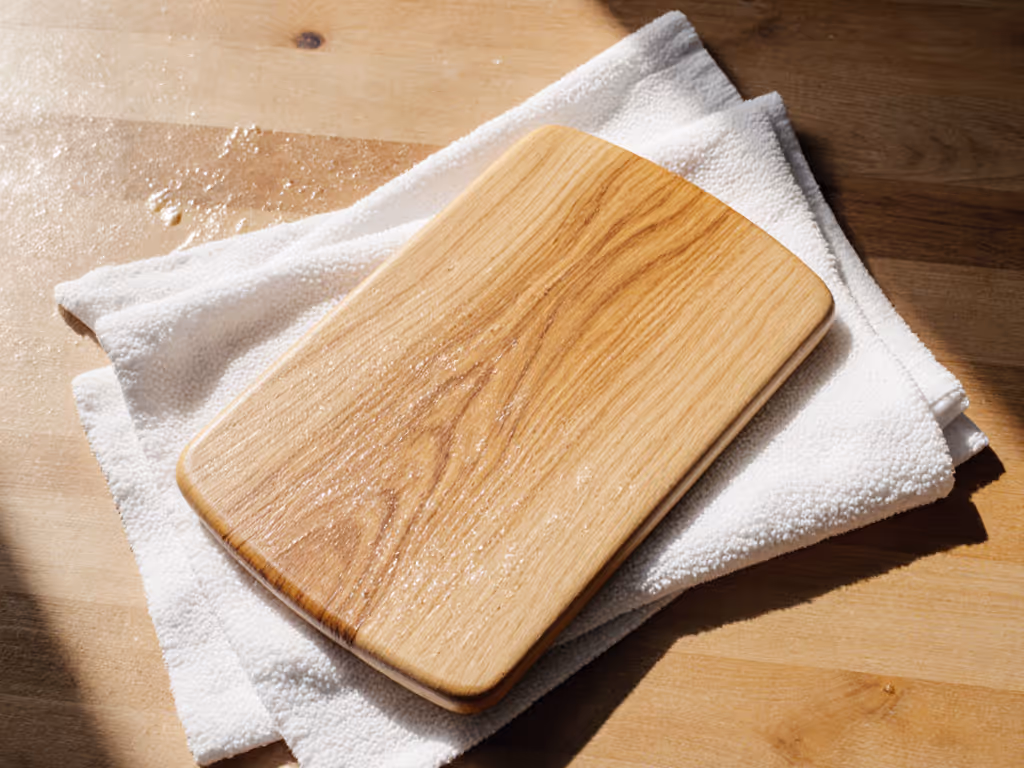
- Prop it upright against the sink or a wall. Air needs to circulate all around, including edges. Tuck a towel underneath to catch drips. Never let it rest on a wet surface.
- Check after 30 minutes: Wipe any pooled water from grooves or corners. Hollows hold moisture longer.
- Wait 2 hours before storing. If it feels cool or damp anywhere, give it more time. Rushing this step risks mold in hidden seams.
Spot-Treating Stains and Smells
Turmeric sunsets and garlic ghosts? Easy fixes that won't harm your board:
- For stains: Make a paste of baking soda and water. Rub gently along the grain with a soft cloth. The mild abrasion lifts pigments without scratching. Rinse and dry upright.
- For odors: Cut a lemon in half. Squeeze juice over smelly spots while rubbing the pulp in circles. The acid neutralizes oils; the scrubbing lifts residue. Rinse well. You don't want lemon flavor in your next meal!
Skip the vinegar soak for deep cleaning. It won't sanitize (per EPA standards), and overexposure dries wood fast. Stick to surface wipes.
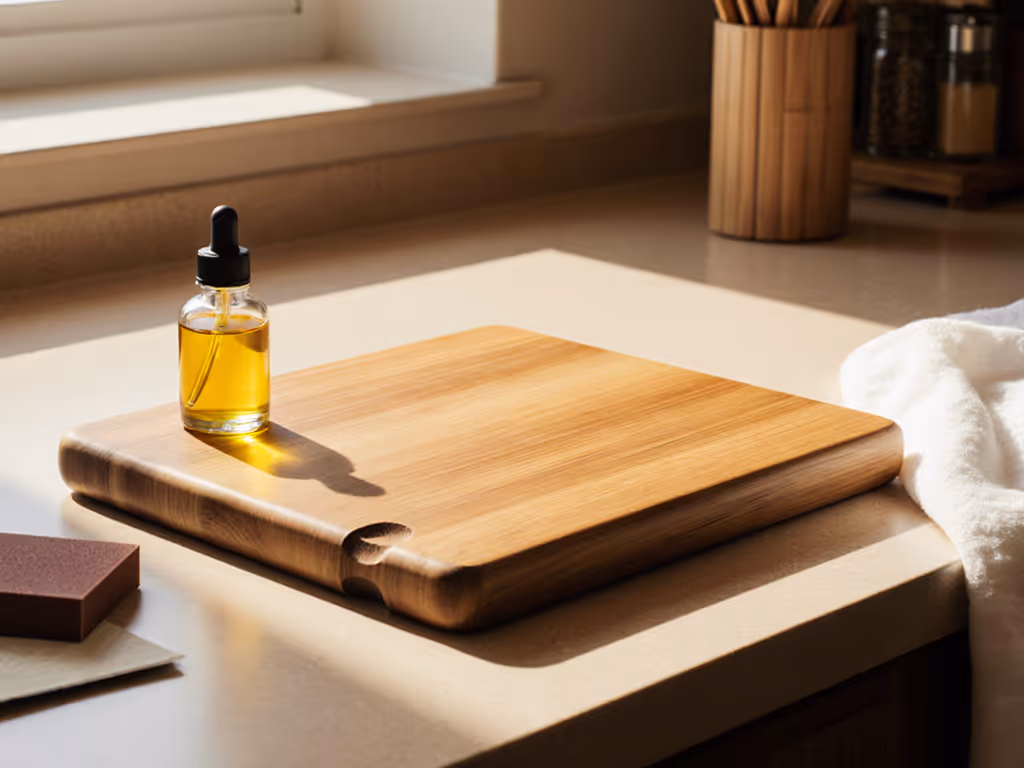
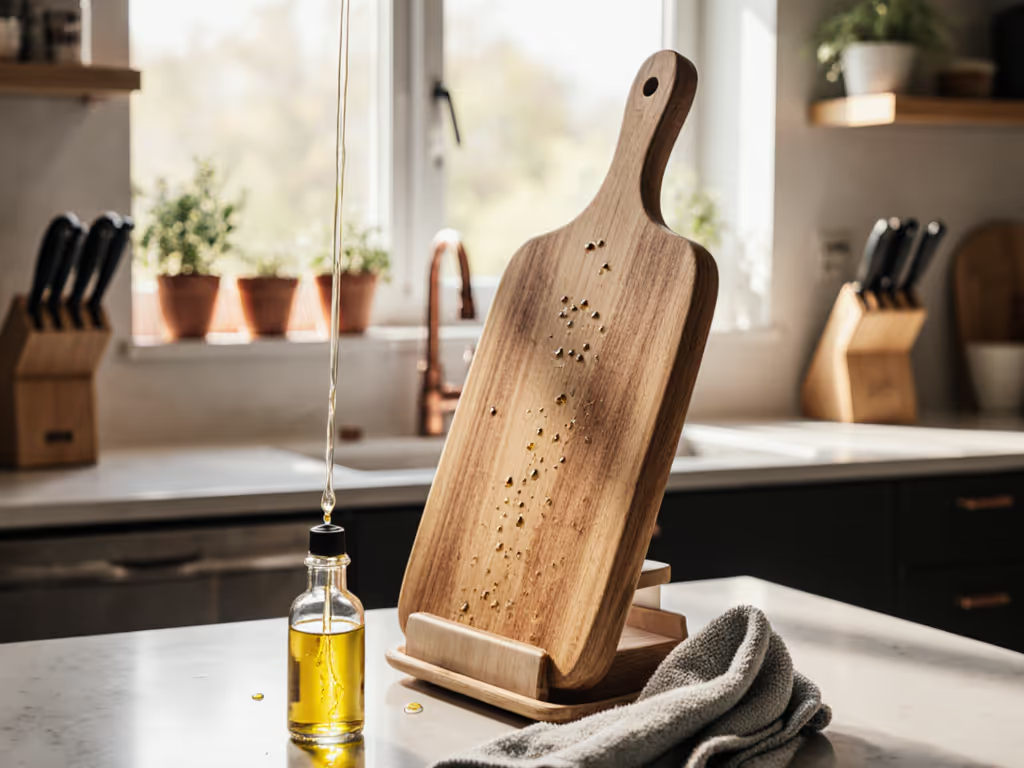
Oiling: Your Board's Hydration Lifeline
Seasoning cutting boards isn't cooking. It's about sealing the wood. Un-oiled boards absorb moisture from food (and knives!), then dry out, causing cracks that trap gunk. How to tell it's time? Flick water on the surface. If it soaks in instead of beading up? Dry spot. Time to oil.
The 5-Minute Conditioning Routine
- Pick the right oil: Food-safe mineral oil only. No olive/coconut oil (they turn rancid). (Beeswax blends add extra water resistance but apply after oil soaks in.)
- Apply thinly: Dip a lint-free cloth into oil. Wipe with the grain until the surface looks damp but not shiny. Too much oil pools in seams and gets sticky.
- Let it sink in: Wait 10 minutes. Wipe off excess. Any oil left on top attracts dust.
- Test the next day: If water beads up, you're good. If not, repeat.
Oiling frequency? Seasoning cutting boards monthly is smart, but check the wood's feel. If it looks grayish or feels rough, oil it now. New boards need oiling 2 to 3 times in the first month. They're extra thirsty.
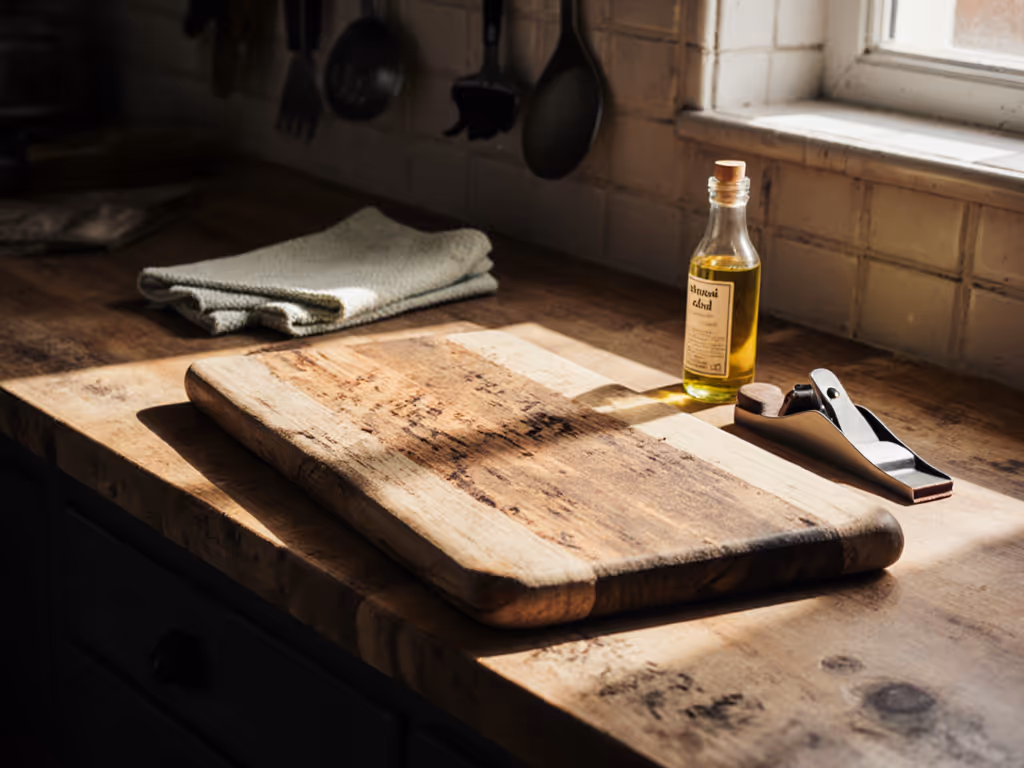
Fixing Warped Boards: Can It Be Saved?
Mild warping often self-corrects with proper drying. Here's how:
- Lay the convex side (the bulge) down on a damp towel. Cover it with a slightly damp cloth. The moisture draws the wood fibers back toward flatness.
- Wait 24 hours. Check hourly at first, overdoing it worsens warping.
- Oil immediately after to lock the shape. Stand it upright to dry.
If it's severely warped? Stop fighting it. A board that rocks won't stay put during chopping, forcing you to grip your knife too hard. This is a safety risk, not a maintenance fail. Retire it for display only.
Your Maintenance Mindset Shift
Wood cutting boards maintenance isn't chores, it's setting up your success. Every time you oil before it's too dry, or prop it upright to dry, you're building a station that supports your hands. No more white-knuckling the handle because the board won't stay put. No more hesitation when slicing tomatoes because the edge feels unstable.
Remember that neighbor who flinched at every chop? What changed wasn't her knife skills; it was her board's quiet grip-first stability. When your surface feels alive but unwavering under the blade, you move faster because you're calm. That's the power of a well-maintained board.
Comfort builds confidence; confidence keeps edges where they belong.
Ready to go deeper? Explore how different wood types (maple vs. walnut) react to moisture, or master removing cutting board stains from stubborn beetroot spills. Your quiet, grippy kitchen starts with these small steps, one safe chop at a time.
Related Articles