Cutting Boards for Every Chef Level: Beginner to Pro Guide
By Noa Feld • 3rd Jan
When you're choosing cutting boards, it's not just about material, it's about matching your board to your chef progression kitchen tools. The right surface transforms hesitant chops into confident motion, turning noise and fear into quiet focus. Comfort builds confidence; confidence keeps edges where they belong. I've seen neighbors flinch at every thwack, knives skittering off slick plastic. Fixing that starts with understanding what your hands feel at each stage of your cooking journey. Let's demystify the choices so you build safer, smarter habits, no matter if you're dicing your first onion or prepping a Michelin-style tasting menu.
FAQ: Your Cutting Board Questions, Answered by Skill Level
Beginner Kitchen Safety: Stopping the Slide Before It Starts
"Safety is speed. Grip-first means you never scramble to catch a runaway board."
Q: Why does my board keep sliding when I chop? It's making me nervous!
A: That slip is your biggest hidden risk, not the knife. Beginners often grab any board they own, but dynamic stability (how it behaves under pressure) matters most. Glass or thin plastic? They'll always move. Beginner kitchen safety boards need two things: weight + damp-grip synergy. Try this: place a standard 12"x18" rubber cutting board or end-grain board over a slightly damp kitchen towel. The towel absorbs vibration and creates instant suction. Now your board won't jerk sideways when you rock your chef's knife. Test it: press firmly near the edge. If it doesn't budge, you've nailed stability. This simple fix stopped my neighbor's flinching, and her tomatoes stopped rolling off the counter.
Q: I'm scared of dulling my knife. What's truly safe for beginners?
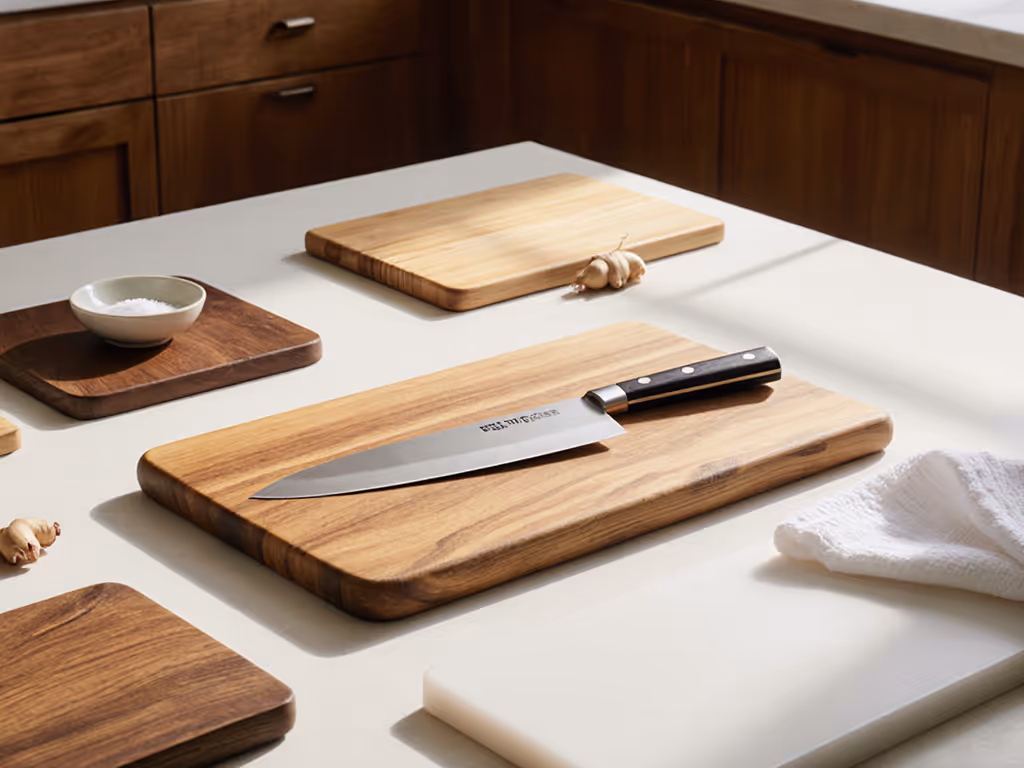
A: Skip bamboo (too silica-hard) and glass (edge-killer). Soft-feel surfaces like beech or rubber give just enough to cushion the blade's impact. Watch for micro-drag: run your fingernail gently across the board. If it glides without catching, the surface won't shred your edge. Also, keep juice grooves shallow, deep channels trap moisture and make boards wobble. A flat, 1.5"-thick board is your safest first friend. (Pro tip: Stash a small board just for proteins, no cross-contamination guesswork.)
Intermediate Precision: When Feedback Becomes Your Secret Weapon
Q: My knife feels "off" on certain boards, sometimes sticky, sometimes too loose. What's happening?
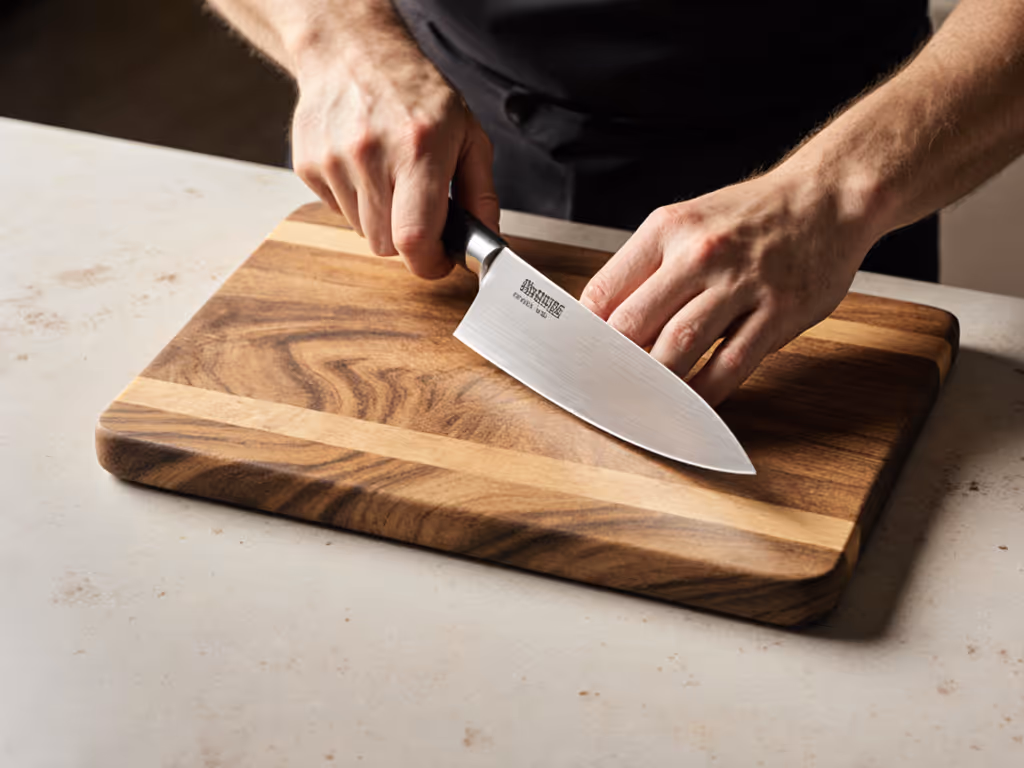
A: This is tactile literacy kicking in! At the intermediate stage, you're sensing how intermediate precision cutting surfaces interact with your steel. German knives (softer steel) prefer slightly firmer boards like hard maple, they need that subtle resistance for clean cuts. High-carbon Japanese blades? They whisper please on softer larchwood or rubber, where the board gives without grabbing. Try this test: slice a radish. Does the knife glide through with zero vibration? Or does it catch? That feedback tells you if the board's density matches your knife's geometry. No vibration = longer edge life. Also, check your hand placement: pinky anchored on the board's back edge? That's your stability anchor.
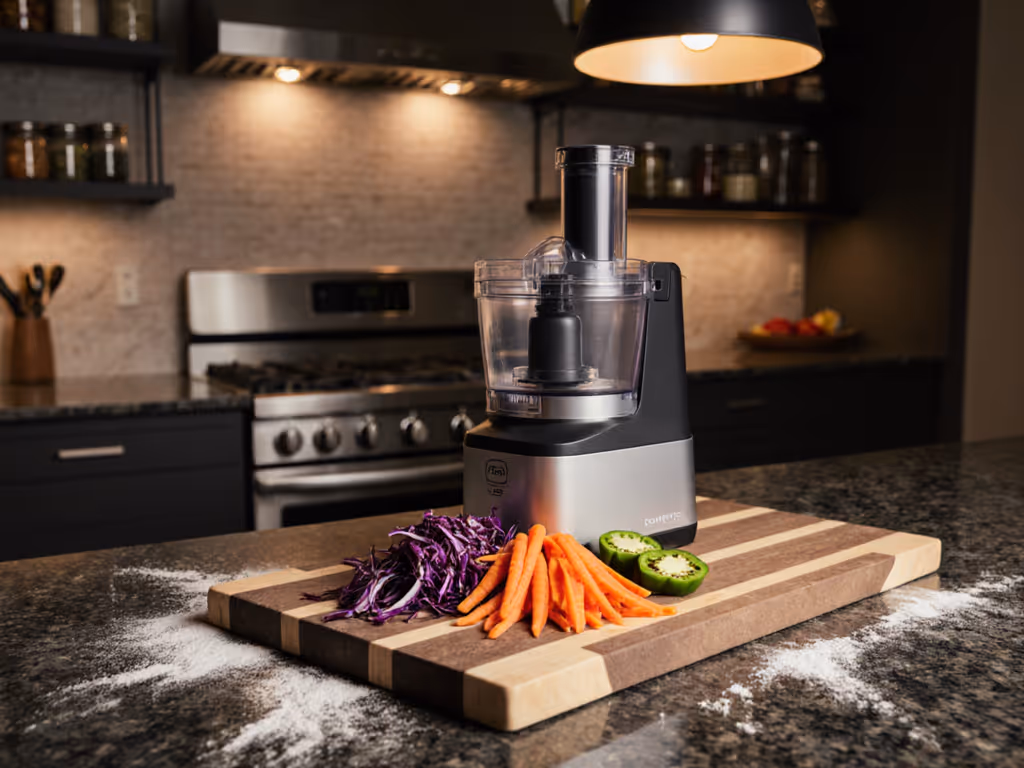
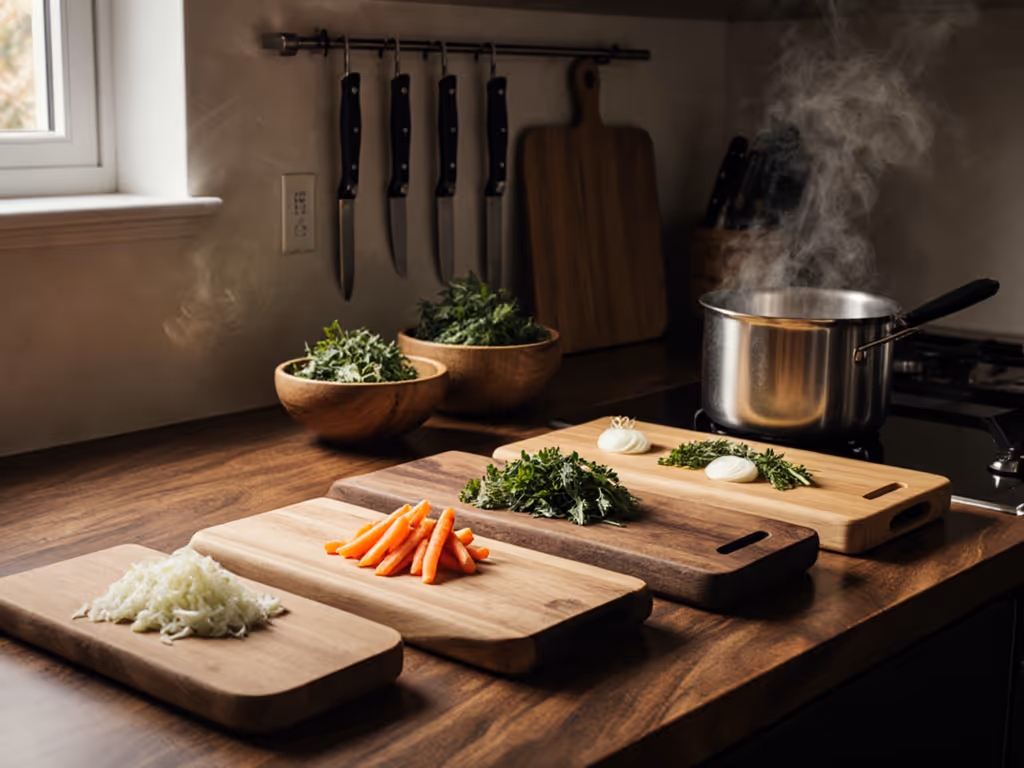
Q: I need a board that handles onions (tears!), proteins, and bread, but I'm out of counter space.
A: Enter skill-building kitchen tools that multitask without compromise. If space is your constraint, explore our space-smart cutting board sets for compact kitchens. Go for a modular system: one primary board (18"x24") for veggies/proteins, plus a slim 8"x12" beech board just for bread. Why? Bread crumbs get trapped in grooves, creating cross-contamination risks. The slim board nests neatly beside your knife block. Key trait: look for non-slip feet integrated into the board's base, not glued-on pads that peel. This keeps your workflow fluid when swapping tasks. And always, always dry boards upright, never flat, to prevent warping.
Advanced Chef: Engineering Your Workflow, Not Just the Board
Q: In pro kitchens, I see rubber boards everywhere. Why aren't home cooks using them?
A: Advanced chef professional boards like commercial rubber (e.g., Sani-Tuff) solve three critical problems: hygiene, noise, and speed. They're NSF-certified for raw meat, dishwasher-safe (unlike wood), and absorb the blade's impact, the thwack becomes a soft thump. Curious what NSF and other labels actually mean? See our cutting board certifications guide. But they're heavy! If you've got small hands or limited counter depth, a 24" rubber board might feel unwieldy. Solution: cut it down to 18"x14" (many suppliers offer custom sizing). Also, pair it with a scrap tray that docks under the board's front lip. This catches carrot peels or meat trimmings mid-chop, no frantic bin dashes. Your flow stays unbroken.
Q: End-grain wood boards are expensive. Are they actually worth it for home use?
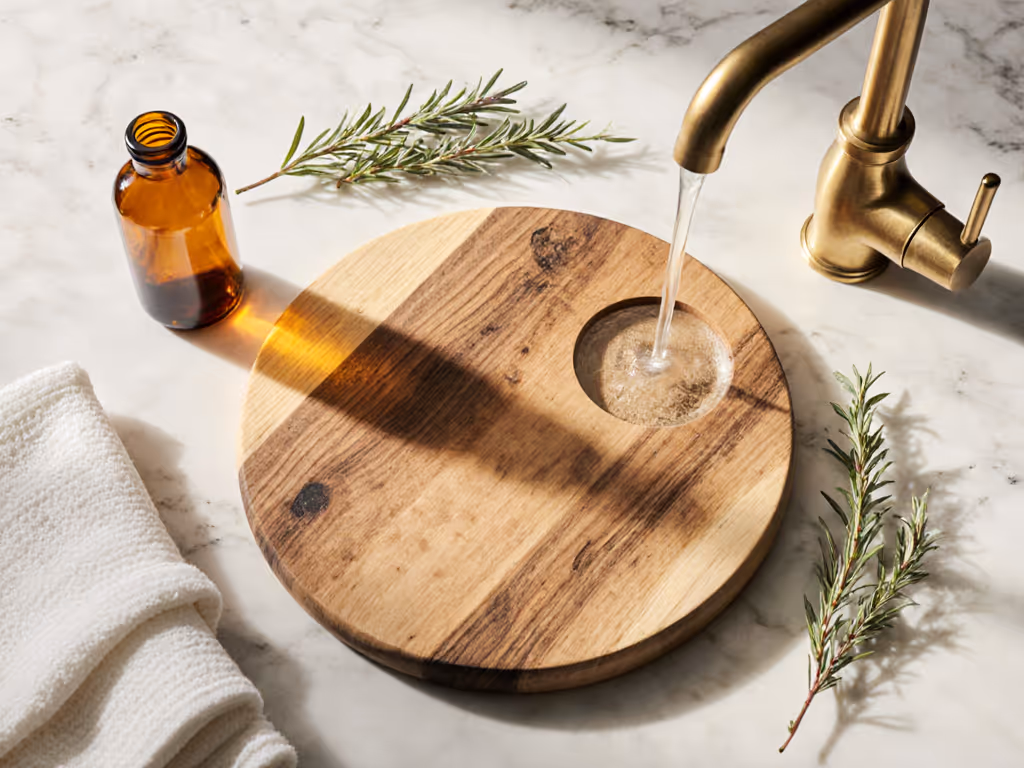
A: Only if you value edge preservation over speed. Yes, end-grain boards (like maple) "self-heal" as fibers close around blade cuts, reducing micro-chips. But they're thick (4"+), heavy, and need weekly oiling. For home cooks, a hybrid approach often wins: use a rubber board for proteins/acidic veggies (tomatoes, citrus), and a thinner edge-grain maple board (1.5" thick) for bread/cheese. The maple board stays flatter longer, won't harbor odors, and costs half as much as end-grain. Just never soak it, wipe clean, dry upright, and oil monthly.
Universal Truths: What Every Level Gets Wrong (and How to Fix It)
Stability Isn't Optional, it's Non-Negotiable
Testing board stability takes 10 seconds but prevents 90% of cuts:
- Hand test: Press firmly on four corners. If it rocks, stop using it.
- Towel trick: Dampen towel, wring thoroughly, lay flat under board. No slippage.
- Rubber rule: If your board's rubber feet squeak when pressed, they're too sticky, they'll pull the board sideways mid-chop.
Silence = Safety (and Sharper Knives)
That loud smack on hard plastic? It's not just annoying, it means the board isn't absorbing force, so your knife edge takes the hit. Prioritize quiet feedback:
- Wood: Listen for a soft tap (good) vs. crack (too dry/cracked).
- Rubber: Should sound like a muffled thud. If it's loud, the material's degraded.
- Plastic: Discard if it develops deep scratches, bacteria hide there.
The 30-Second Care Routine That Saves You Hours
- After every use: Hand-wash with mild soap (no dishwasher for wood!), dry immediately.
- Weekly: For wood boards, rub with mineral oil; for rubber/plastic, soak in 1:10 vinegar-water mix for odor removal. For detailed steps on oiling schedules and warp prevention, follow our wood cutting board maintenance guide.
- Monthly: Flip boards stored flat to prevent warping. If edges curl, clamp flat with damp cloth overnight.
Your Next Step: Build Confidence, Not Just a Chopping Station
Choosing cutting boards isn't about chasing "best" lists, it's about syncing with your hands, knives, and kitchen rhythm. Start where you are: if you're a beginner, master that towel-under-board trick. Intermediate? Tune into your knife's vibration. Advanced? Engineer your workflow with scrap trays. Remember: every chop should feel secure, not stressful. Grip-first isn't just technique, it's the mindset that turns kitchen anxiety into quiet command.
Further Exploration: Grab two scraps of paper. On one, sketch your ideal board's feel ("quiet," "grippy," "no give"). On the other, note your biggest workflow hang-up ("onion tears everywhere," "board slides during avocado"). Compare them. That's your next upgrade priority, not what a reviewer says.
Related Articles