
Best Affordable Cutting Board Sets Under $100
By Noa Feld • 3rd Oct
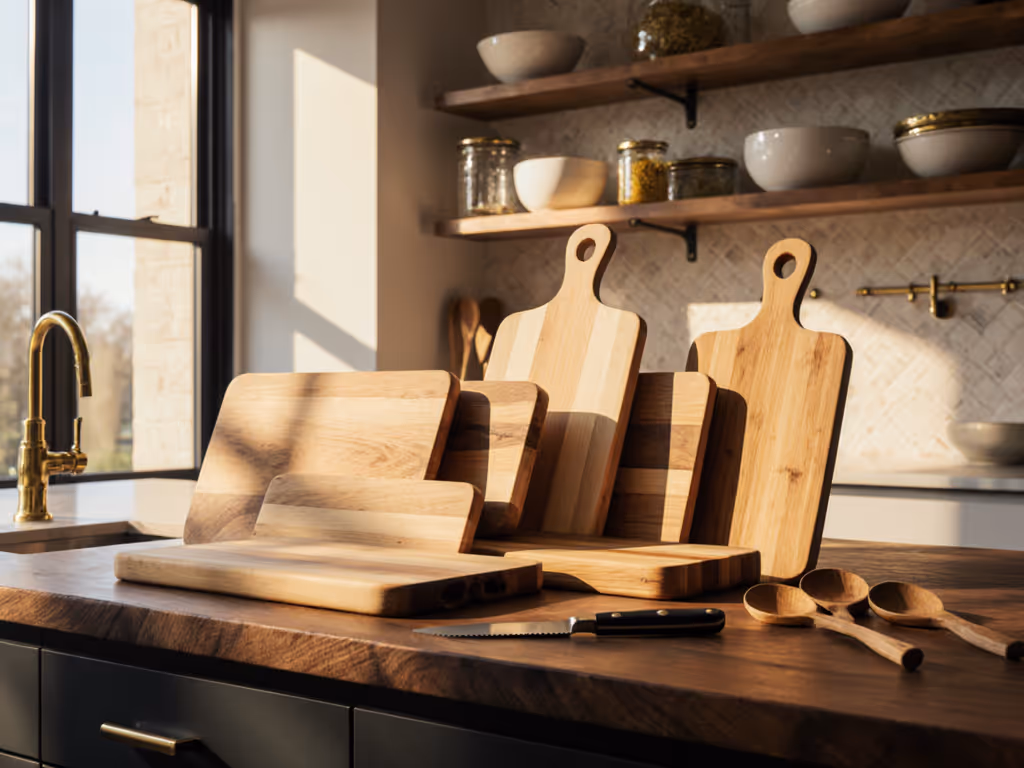
Finding the best affordable cutting board sets shouldn't mean sacrificing your knives or your peace of mind. Most home cooks I meet worry about two things: their expensive blades chipping on the wrong surface, and that jarring thwack that makes every chop feel like a battle. When your cutting boards fight you instead of supporting you, confidence crumbles, knives slip, fingers tense, and mistakes happen. But here's the truth: the right setup transforms prep from stressful to serene. It's not about flashy materials or oversized blocks that dominate your counter. It's about surfaces that give just enough, stay stubbornly put, and create a workflow where your edge stays sharp and your hands stay steady. In this guide, I'll walk you through building a cohesive, budget-friendly system that actually works with your knives, not against them. Because comfort builds confidence; confidence keeps edges where they belong.
Why Your Cutting Board Choice Is Non-Negotiable for Knife Safety
Before you browse a single set, understand this: your board is the foundation of every cut. A poor surface doesn't just dull knives faster, it risks micro-chips, especially in high-hardness Japanese steels. I've seen beginners flinch at the harsh thwack of cheap plastic, their grip tightening until the knife veers off course. That unstable, noisy feedback isn't just unpleasant; it's dangerous. When a board slides or vibrates under your blade, your focus shifts from where to cut to if you'll stay safe.
The Material Myth: What Really Matters for Edge Longevity
Forget the "wood vs. plastic" debate. What counts is surface resilience, how much the board compresses under your knife's edge. Soft maple? Gentle. Dense bamboo? Aggressive. Glass? Knife murder. The sweet spot for home cooks is a board with subtle give: enough to cradle the blade without dragging it sideways. This is why many pros swear by end-grain wood, it recloses around the edge, reducing wear. But you don't need a $300 butcher block. Affordable wood cutting boards sets made from Northern Hard Rock Maple (like John Boos' entry-level Chop-N-Slice series) offer similar forgiveness at under $100. They're dense enough to resist deep grooves but plush enough to keep edges keen. Avoid anything hard, slick, or scored, those scarred plastic boards aren't just ugly; they're honing rods in disguise.
A stable board isn't optional, it's your first line of defense against slips and skids.
Stability = Safety: Stop the Slide Before You Start
A board that shifts mid-chop is a silent hazard. I once watched a cook lose control because her bamboo board skated toward the sink during a tomato dice. The fix? Two-minute stability checks:
- Damp towel test: Place your board on a barely damp kitchen towel. If it slides with light pressure, it's useless. Boards like Sur La Table's reversible maple options (under $80) have textured surfaces that grip even on tile.
- Juice groove reality check: Grooves catch drips but don't prevent sliding. If your board lacks non-slip feet, tuck folded towel corners under it. I taught a neighbor who flinched at every chop to use this trick, her grip steadied instantly.
- Weight vs. function: Heavy boards (like 2-inch thick blocks) won't slide, but they're impractical for small sinks. Opt for 1 to 1.25 inch thick boards, they're stable yet manageable. The John Boos 4-Cooks Series maple board ($42-$78) nails this balance: lightweight enough to move, dense enough to stay put.
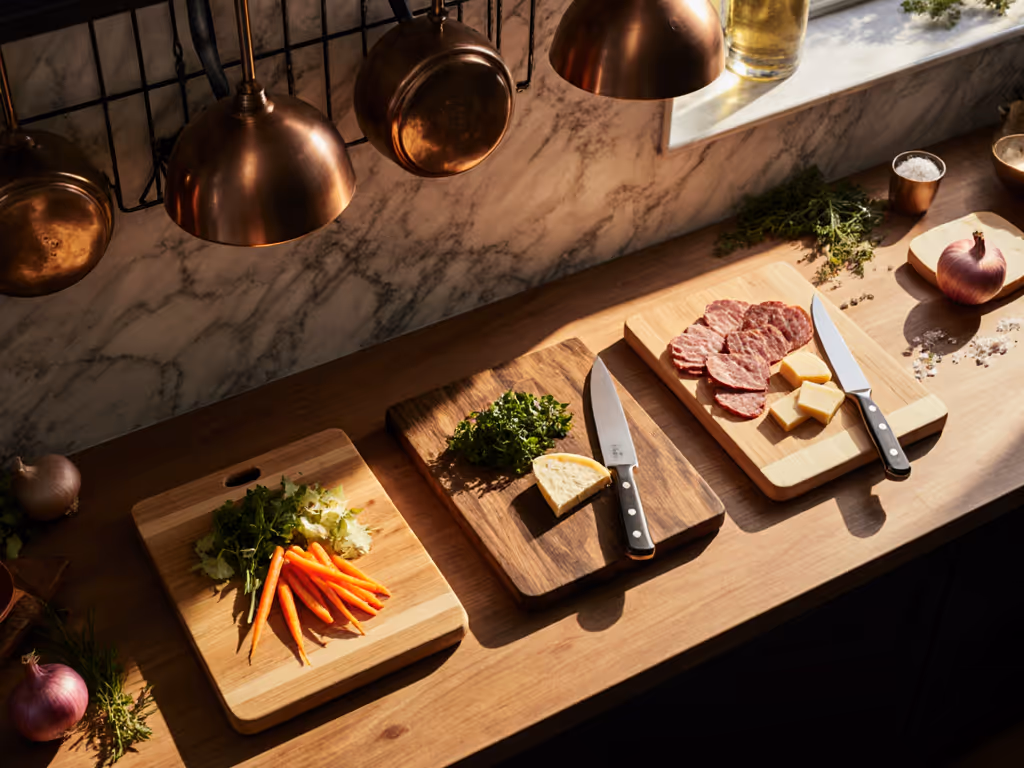
Building Your Set: A Step-by-Step System for Real Kitchens
Forget "sets" sold as matching trinkets. A true system solves specific prep problems. Here's how to curate yours under $100, based on what home cooks actually need, not what marketers assume.
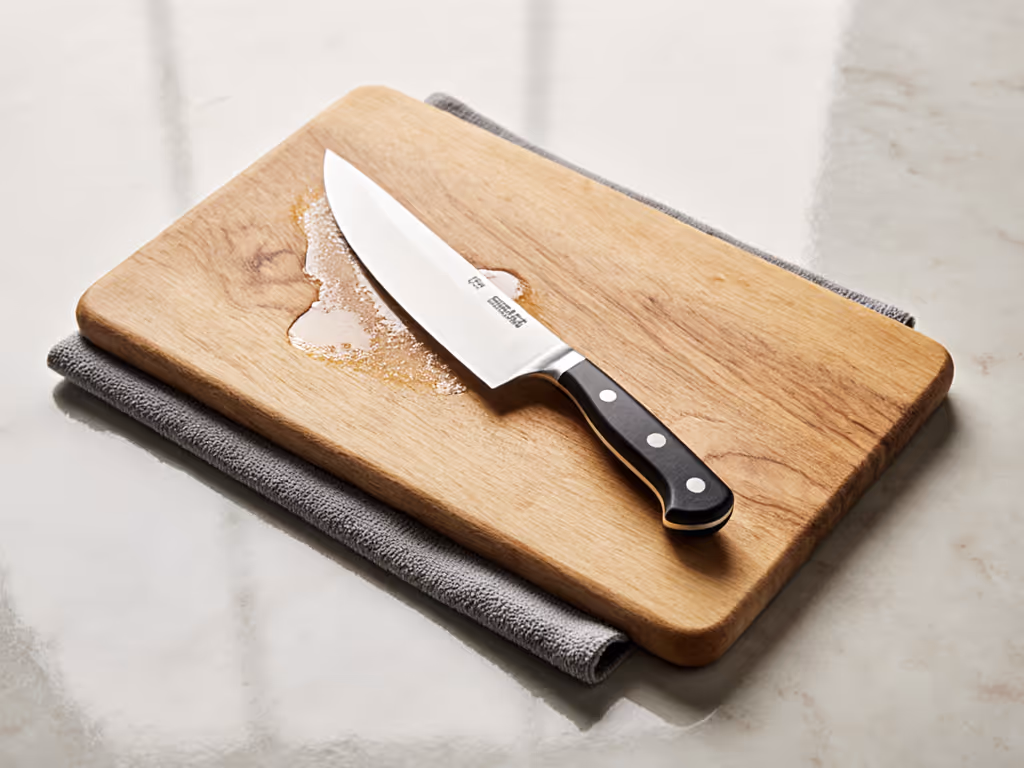
Step 1: Prioritize Your Primary Board (The Workhorse)
This is where 80% of your chopping happens. It must be:
- Large enough for full heads of cabbage (at least 12"x18")
- Thick but sink-friendly (1 to 1.25 inches so it fits in most basins)
- Flat on both sides (no permanent grooves, use one side for meats, one for veggies to avoid cross-contamination)
Top pick: John Boos Chop-N-Slice Maple Board ($53-$89). Why it shines:
- Reversible design: One side for raw proteins, one for produce, no guessing games.
- Finger-grip cutouts: Actual ergonomic relief for heavy tasks (unlike vague "comfort handles" on cheaper sets).
- Northern Hard Rock Maple: Gentle on edges, resistant to warping. Dries fast because it's edge-grain, not end-grain.
- Pro tip: Rub mineral oil monthly. Unlike bamboo, maple won't discolor but needs hydration to resist cracks.
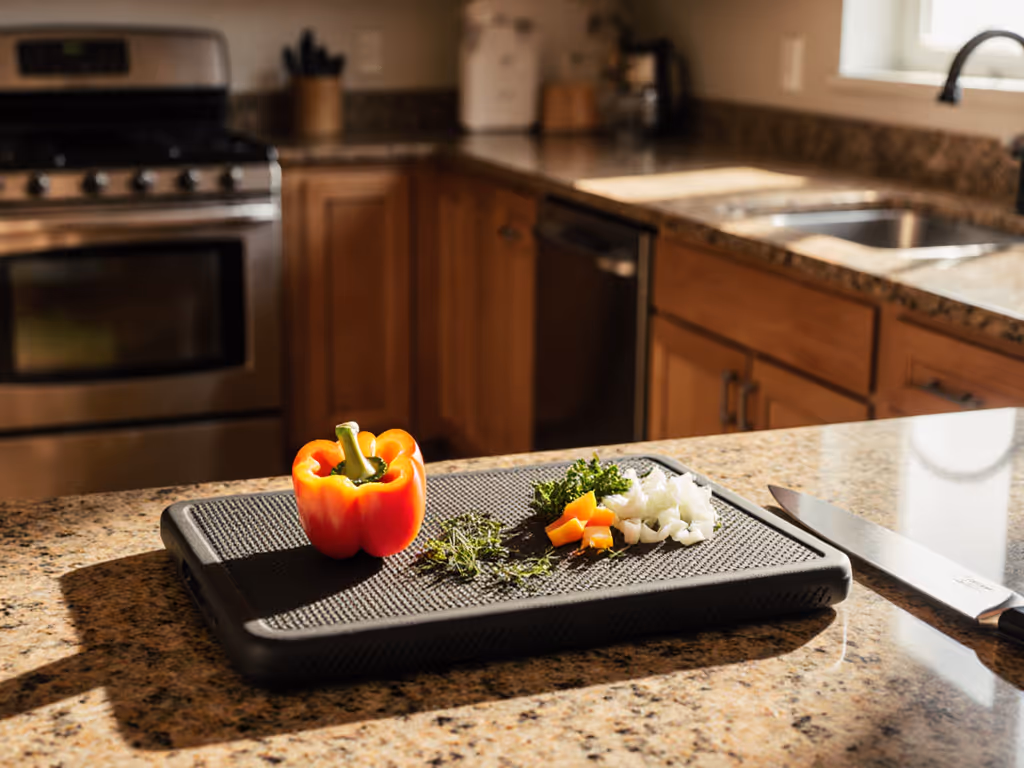
Step 2: Add a Dedicated Bread Board (The Silent Saver)
Serrated knives demand a softer surface. Hard boards tear crusts and jolt your wrist. Yet most "sets" include a tiny bamboo slab that's useless for a baguette.
Budget fix: Cut a 9x12" section from a $15 rubber mat (like those sold for gym floors). It's:
- Silent, absorbs the thwack of a bread knife
- Grippy, no sliding even with oily hands
- Stain-proof, no garlic or beet juice soaks in
Place it beside your main board. When prepping a charcuterie board, slide ingredients directly from this mat to plates. Zero cross-contamination, zero stress.
Step 3: Nail the "Small Stuff" Board (Your Mise en place MVP)
That cramped 6x8" board in cheap sets? It's for garlic cloves and herbs, not onions. You need a usable small board that:
- Fits one hand comfortably (no white-knuckle gripping)
- Stays put on counters (no feet flying off)
- Has a juice groove only if it's for meats (else it traps crumbs)
Sur La Table's Small Walnut Board ($25) solves this. At 1" thick, it's sturdy but not cumbersome. The real wood grain gives subtle feedback, no slide, no scar, but stays small enough for fridge storage. Use it only for raw meat. When roasting chicken, nestle it on a rimmed baking sheet. Drippings go to the pan, not your counter.
Step 4: The Tray Trick (Your Workflow Secret)
No set includes this, but it's critical: a rimmed tray under your main board. I learned this teaching a meal-prep mom who hated "board-to-pan chaos." Her fix? A $5 aluminum half-sheet pan slid under the board. Now:
- Veggies slide off the board straight into the tray, no flying scraps
- Meat juices pool in the tray, not on counters
- When done, lift the board and dump scraps in one motion
This turns your kitchen cutting boards into a seamless station. No more wiping counters between tasks. It's the difference between frantic and fluid.
Avoiding the "Affordable" Traps (What Cheap Sets Hide)
Not all under-$100 sets earn your trust. Watch for these red flags:
❌ The "Bamboo Wonderland" Set
Marketed as eco-friendly, many bamboo boards are silica-heavy and blade-killers. They feel hard under your palm but drag knives sideways, causing micro-chips. If it's marketed as "hard as maple", run. True maple has give; bamboo is brittle. Skip sets with bamboo as the primary board.
❌ The "Dishwasher-Safe" Lie
Plastic boards labeled "dishwasher safe" often warp after 3 cycles, creating ridges that snag blades. Worse, detergent chemicals degrade the surface, making it more abrasive. If a set claims this, assume it's short-lived. Real wood (like maple or walnut) shouldn't go in dishwashers, it warps and dries out. "Dishwasher safe" = cheap plastic compromise.
❌ The "Color-Coded Chaos" Set
Pink for meat! Green for veggies! But tiny, flimsy boards (under 10x6") can't handle real prep. That "veggie board" buckles under a butternut squash. Instead, assign roles to sturdy boards: main board (reversible), meat-only board (small walnut), bread mat (rubber). Visual cues matter, but size and stability matter more.
Maintenance Made Simple: Keep Your Set Performing
Great wood cutting boards thrive on basic care, not rituals. Forget monthly sanding or expensive oils. Stick to this:
- Wash immediately: Soap + cold water. Never soak. Dry standing up (not flat!) for airflow.
- Oil sparingly: Every 4-6 weeks, rub food-grade mineral oil (not olive oil, it turns rancid). If water beads immediately on the wood, it's dry.
- Never bleach: It dries wood out, creating micro-cracks where bacteria hide. For odors, rub with coarse salt + lemon.
- Flip weekly: Reverse boards to balance moisture exposure. This prevents warping better than any "self-healing" claim.
A $70 maple board treated this way outlasts $200 plastic sets. It's not about cost, it's about consistency. For detailed care instructions, follow our wood cutting board maintenance guide.
Your Actionable Next Step: Build Your Quiet Zone Today
Don't overthink it. Start with one board that solves your biggest pain point:
- If knife dulling is your fear: Grab the John Boos Chop-N-Slice maple board. Its reversible design and finger grips address stability and cross-contamination in one stroke.
- If sliding boards make you nervous: Pair Sur La Table's small walnut board ($25) with a damp towel under your current board. Test stability before every chop.
- If prep chaos slows you down: Slide that $5 half-sheet pan under your main board tonight. Use it as a scrap catcher for your next meal.
Tomorrow, assess what's missing. Need a bread board? Add the rubber mat. Ready for meat separation? Get the walnut. Build your sanctuary board by board. When that harsh thwack softens to a soft thwack, you'll feel the difference, steady hands, sharper edges, and a kitchen that finally works for you. Because the best starter cutting board sets aren't bought in one go. They're built where you stand, with what you need most.
Related Articles
Cutting Board Price Tiers: Is Premium Worth the Cost?
Choose a cutting board by cost per year, not sticker price: mid-range wood delivers the best value for most cooks, while true end‑grain premiums pay off with heavy use and proper care. Avoid cluttered sets and hard materials that dull blades, and factor maintenance and storage into the decision.