Cutting Board Rejuvenation: Fix Deep Scratches & Warping
By Elena Petrov • 27th Oct
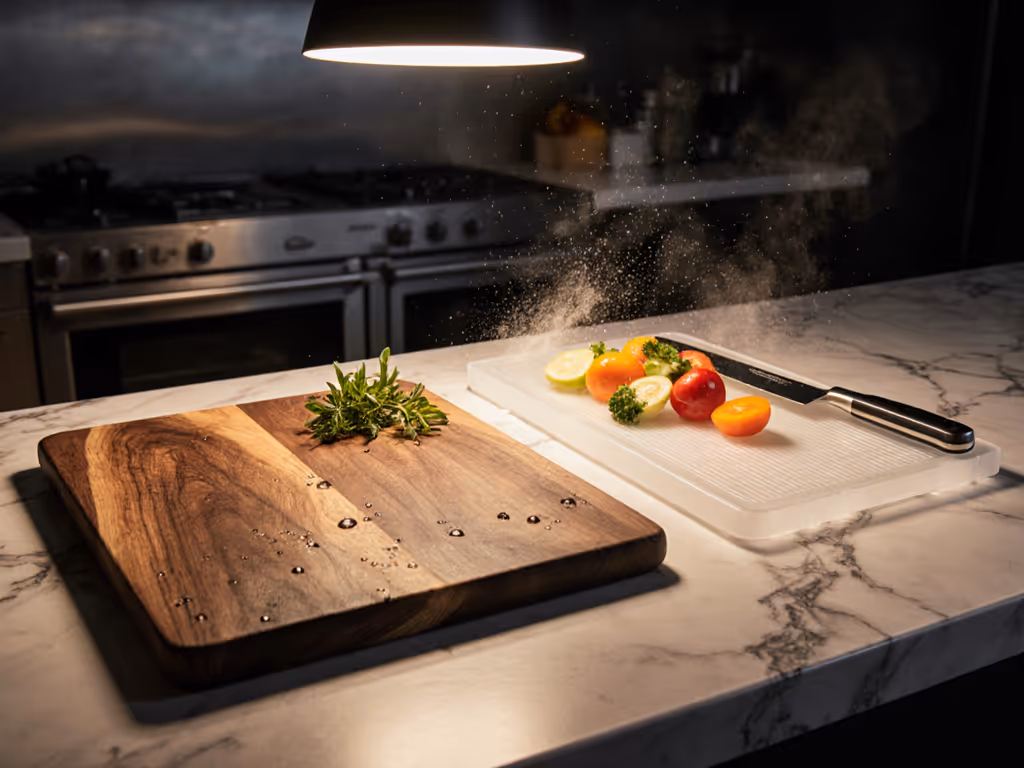
When your trusty safe cutting boards start showing deep knife scars or develop that annoying warp that catches water, you're faced with a real cost question: replace or repair? As someone who's tracked kitchen gear spend versus utility for over a decade, I can tell you the answer hinges on smart cutting boards woodworking principles, not trendy replacement cycles. The true cost of failure isn't just money, it's lost counter space, extra sharpening sessions, and hygiene risks that multiply with each use. Spend once on utility; skip the shiny, single-purpose clutter.
Why Scratches and Warping Matter More Than You Think
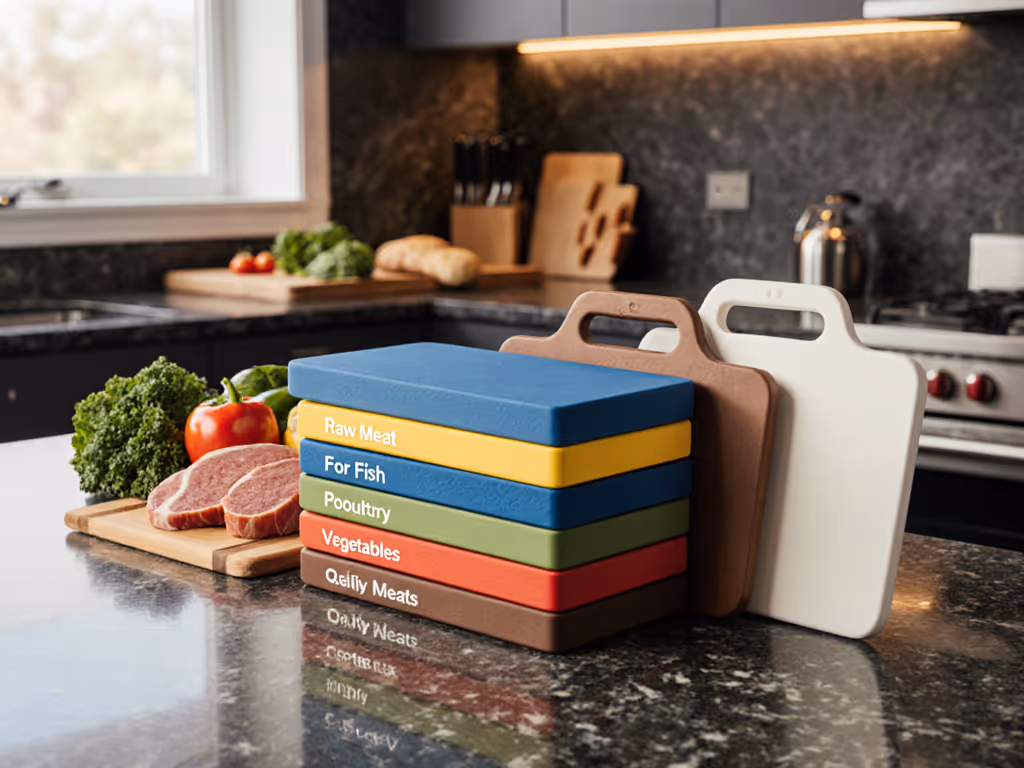
Most home cooks tolerate minor wear until deep grooves trap food particles or warping creates dangerous instability. But these aren't just cosmetic issues, they're failure points with real consequences. Deep scratches in boards become bacterial breeding grounds despite surface cleaning, particularly when handling raw proteins. For a deeper look at safe cleaning practices and cross-contamination prevention, see our food safety cutting boards guide. A warped board's uneven surface creates dangerous instability during precise cuts while also trapping moisture underneath, a double hazard for both safety and longevity.
Consider the hidden costs: A warped board means wasted counter space as you compensate for its tilt. Deeply scarred surfaces accelerate knife dulling, adding $5-$15 per sharpening session to your kitchen's TCO lens. Most critically, compromised boards undermine your entire kitchen workflow, they wobble, slide, or force you to hunch over awkward angles. When that handsome four-piece set I once tested failed after a month, the warped tray created a water trap that led to mold growth, extra cleaning sessions, and ultimately, replacement costs that doubled the initial investment. Price-to-performance isn't about what you pay upfront, it's what you pay per use over time.
The Rejuvenation Protocol: Data-Driven Restoration
Fixing Deep Scratches in Boards
Deep scratches aren't inevitable death sentences for your boards, they're calculated wear that can be addressed systematically. Here's your step-by-step approach:
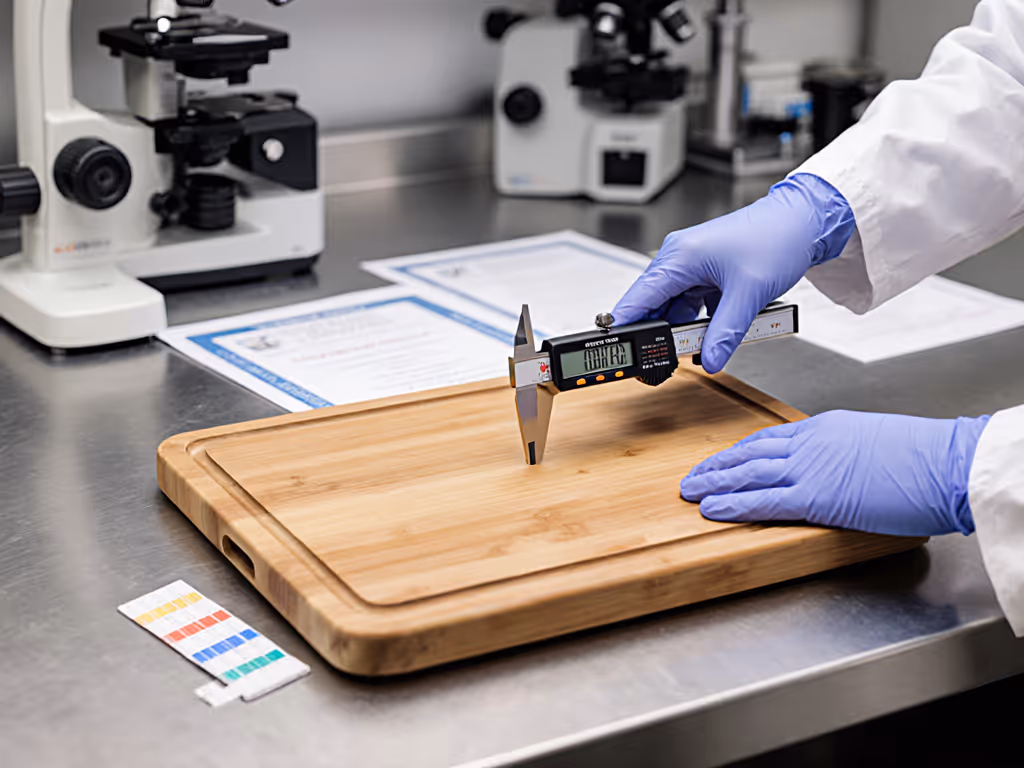
- Determine Depth: Run your fingernail across the scratch. If it catches significantly, you've got a 1-2mm groove that requires sanding.
- Progressive Sanding: Start with 80-grit sandpaper to remove the deepest grooves, then move to 120-grit, and finish with 220-grit. Sand with the grain for wood boards to avoid creating new scratches.
- Measure Material Loss: For every 1/16 inch removed, you're sacrificing approximately 5 years of board life. Calculate whether the repair extends usability enough to justify the material loss, this is where true amortization thinking matters.
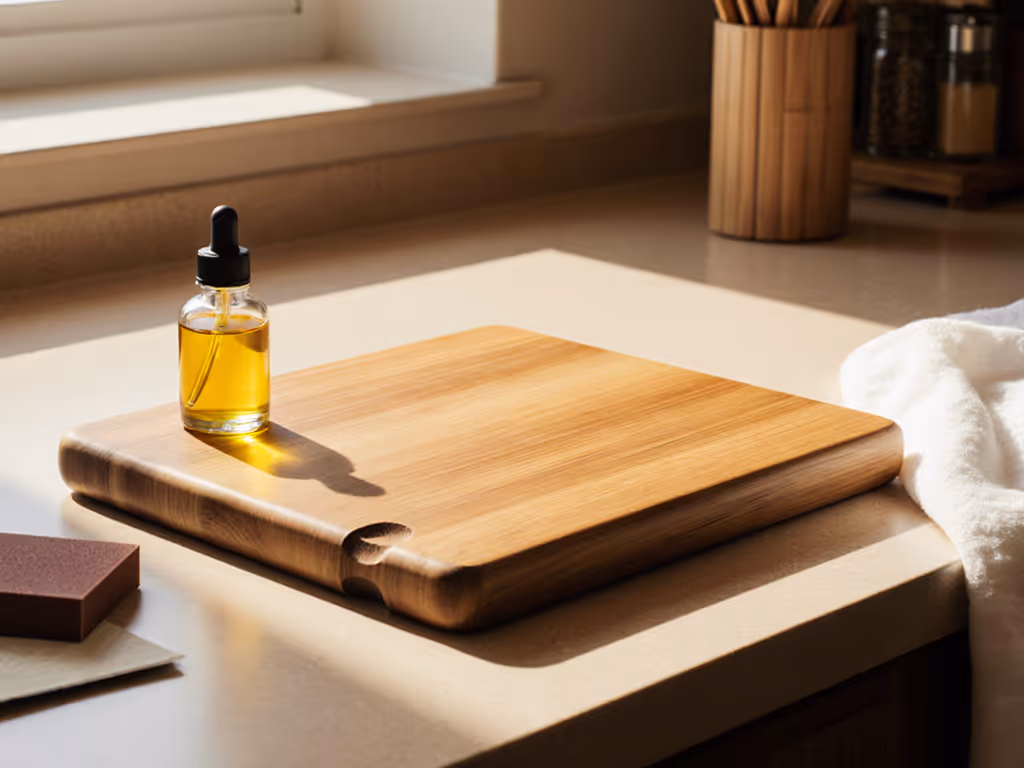
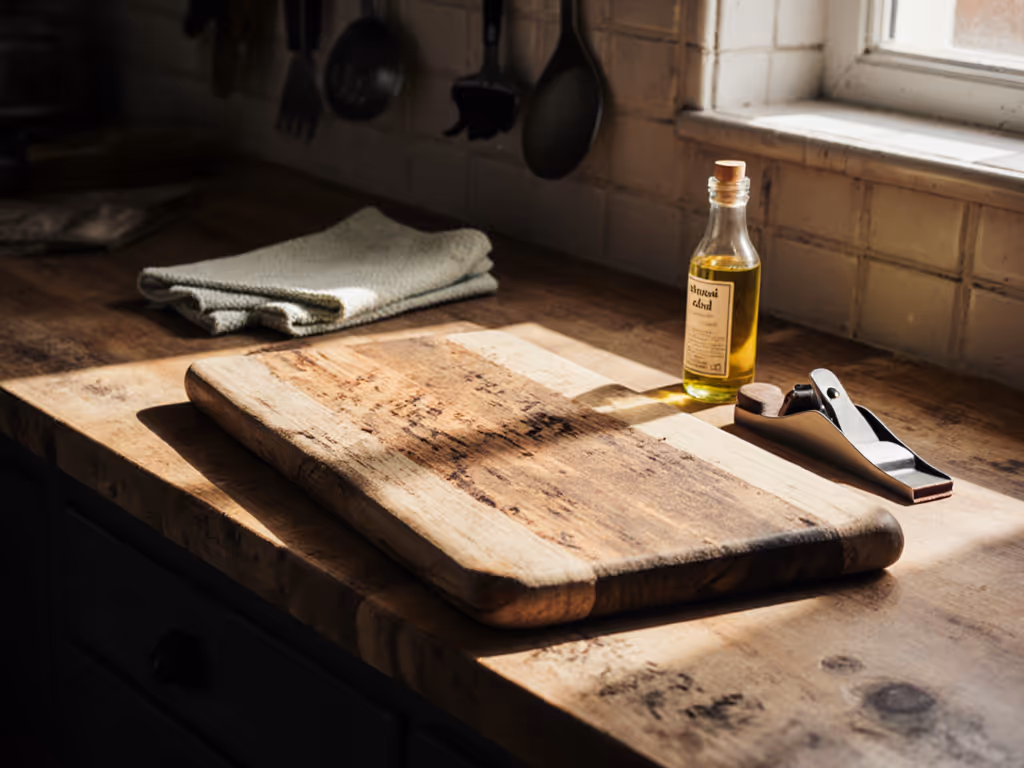
- Condition Thoroughly: After sanding, apply food-safe mineral oil generously and let it soak overnight. This step is non-negotiable for maintaining safe cutting boards. Get the complete schedule and technique in our wood cutting board maintenance guide.
Remember: The goal isn't a pristine board, it's a functional surface that maintains knife edge integrity while preventing bacterial harborage.
Removing Cutting Board Discoloration
Discoloration from onions, turmeric, or meats doesn't necessarily mean bacterial contamination, but it does affect your confidence in the board's hygiene. Instead of replacing, try these proven methods: For non-wood surfaces, follow our plastic cutting board care guide for science-backed stain removal and sanitizing steps.
- For Wood Boards: Create a paste of baking soda and water, apply to the stained area, and let sit for 30 minutes before scrubbing with a stiff brush. Follow with a rinse and immediate oiling.
- For Plastic Boards: White vinegar solution (1:1 with water) works better than bleach for routine cleaning, soak for 15 minutes, then scrub. Reserve bleach for rare deep sanitization needs.
- For Stubborn Stains: Lemon juice and coarse salt creates a natural abrasive that lifts discoloration without damaging the surface.
Track how frequently discoloration occurs, it's a valuable indicator of whether your board material aligns with your cooking habits. High-frequency staining suggests a material mismatch that might justify replacement rather than repeated cleaning.
Flattening Warped Boards
Warping is the silent killer of kitchen efficiency. A board that rocks creates dangerous instability and traps moisture in gaps against your counter. Here's how to flatten it:
- Assess the Warp: Place the board on a known-flat surface (like your stovetop). Note the high and low points using a straightedge.
- Moisture Equalization: If the warp is mild, place the board concave-side down on a damp towel overnight. The wood will absorb moisture and relax toward flatness.
- Targeted Sanding: For persistent warps, sand the high spots using a belt sander (carefully!) or by hand with coarse grit. Check flatness frequently with a straightedge.
- Prevent Recurrence: Store boards vertically with airflow on all sides, never flat against a wall or stacked where moisture gets trapped. For a full prevention plan—including drying best practices and storage setups—see our guide to preventing board warping.
The key metric here is storage footprint: a properly stored board takes up less space than a warped one that needs constant adjustment during use. Measure the difference before and after to quantify your space savings. If a board is beyond repair, give it a second life with our cutting board upcycling ideas.
Establishing a Maintenance Routine That Pays for Itself
The most cost-effective approach isn't just fixing problems, it's preventing them through systematic care. Here's what my decade of tracking reveals:
- Oiling Schedule: Oil wooden boards when they look dry (typically every 4-6 weeks for frequent users). This isn't arbitrary, it's when the wood's moisture content drops below 8%, the threshold where cracking begins.
- Usage Tracking: Note how many prep sessions occur between maintenance. Boards requiring maintenance after fewer than 20 sessions generally have poor wood selection or construction.
- Failure Point Monitoring: Document when scratches reach critical depth (approximately 1mm) that creates bacterial harborage. This determines your sanding timeline.
HOWARD Butcher Block Conditioner
Restores and protects wood, preventing cracking and enhancing appearance.
$9.98
Volume12 Fl Oz
Volume12 Fl Oz
Pros
Prevents drying & cracking, extending board life.
Restores original color and shine, like new.
Cons
Requires regular reapplication.
Customers find this wood conditioner works great on butcher block counters and cutting boards, giving them a brand new appearance with a nice sheen. The product is easy to apply and absorbs quickly into the wood, restoring its original color and shine. They appreciate its effectiveness on various surfaces, with one customer noting it's particularly good for bamboo counter tops.
Customers find this wood conditioner works great on butcher block counters and cutting boards, giving them a brand new appearance with a nice sheen. The product is easy to apply and absorbs quickly into the wood, restoring its original color and shine. They appreciate its effectiveness on various surfaces, with one customer noting it's particularly good for bamboo counter tops.
The Howard Butcher Block Conditioner serves as a reliable example of proper board maintenance products, its mineral oil and natural wax blend penetrates deeply while creating a water-resistant barrier that extends board life. Not all conditioners work this effectively; I've seen cheaper alternatives that merely sit on the surface, creating a slick hazard while offering zero protection to the wood beneath. Read warranty fine print. Boards with proper maintenance often carry longer manufacturer guarantees.
Final Verdict: The TCO Perspective
When weighing board rejuvenation versus replacement, apply strict price-to-performance metrics:
- Cost per Use: Divide total board cost by estimated uses. A $50 board lasting 5 years at 5 preps/week = $0.04 per use. Factor in maintenance costs to get true TCO.
- Space Efficiency: A repaired board that fits your sink and storage beats a shiny new one that clutters your kitchen.
- Knife Preservation: Every time your board preserves knife edge integrity, you're saving $5-$15 in sharpening costs.
The most valuable boards aren't the prettiest, they're the ones that stay flat, resist deep scratches, and function reliably for years. Value is durability plus function, not accessory count. That initial four-piece set I mentioned? Its replacement was a single, well-maintained board that fits my sink, stays flat, and handles all prep tasks without warping or deep scarring. It's been three years and counting, with minimal maintenance required.
Before you replace that scarred or warped board, calculate what it would cost to repair versus replace, then multiply that by the number of years you'll use it. That's the real TCO lens in action. Spend once on utility; skip the shiny, single-purpose clutter.
Related Articles